Initial Setup
Before we start the workshop, we’re going to need to make sure we have a few things. This guide assumes you have nothing currently set up on your computer. Feel free to skip any sections you’ve already completed.
This guide will also setup your computer to build web applications using Google App Engine. If you’re planning on using a different development stack during the workshop, please make sure you can easily deploy new code to it during the day.
Create a Twilio Account
First, sign up for a free Twilio account. You won’t need a credit card, but you will need a phone number to prove you aren’t a robot. Once you’ve signed up, you’ll have your own Twilio phone number. We’ll use this number for the rest of the workshop.
Make sure to use the promo code you were provided for the workshop.
After you’ve created your account and verified your phone number, you should end up at a screen that looks like this.
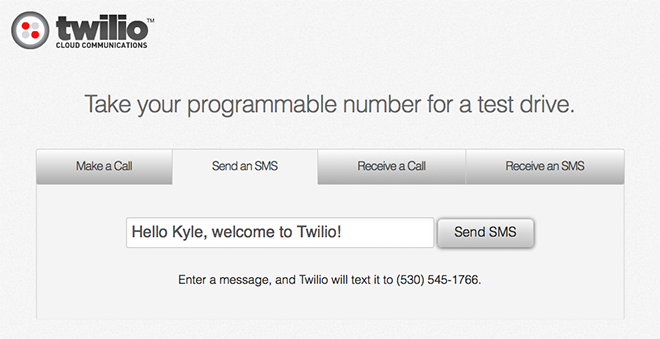
This is your first chance to test out what Twilio can do. Send yourself a text message and receive a call. Congratulations, you’ve used Twilio for the first time!
Download Workshop Materials
Download and unzip the workshop materials. If you are familiar with git, you can also fork this repository on Github.
Install a Text Editor
Now that you’ve signed, up, we need to make sure you can edit the workshop code. If you already have a text-editor or IDE of choice, skip this section.
- Windows - Download and install Notepad++
- OS X - Download and install Text Wrangler
- Linux - Install gedit via your package manager
- Any Platform - Download and install Sublime Text functional demo
Install Python
Open up Terminal, or a command prompt window. and type the following command. If you aren’t sure how to launch your command prompt, ask a TA or a neighbor for help.
python --version
If the output contains Python 2.7.x, your Python installation is ready to go. If not, download the installer for your operating system:
- Python 2.7.3 Windows Installer
- Python 2.7.3 Windows X86-64 Installer
- Python 2.7.3 OS X Installer
- Python 2.7.3 compressed source tarball
More downloads are available on the Python downloads page.
Once you are finished, opening up Terminal (OS X) or Powershell (Windows) and verify the output is now the same
python --version
Python 2.7.3
Install the App Engine SDK
We’ll be deploying our Twilio applications to Google App Engine during the workshop. Google App Engine provides an easy and free way to host your code. Download and install the SDK for your operating system below.
Basic Application Setup
The workshop directory you downloaded earlier contains a basic web application that we’ll be extending during the workshop. We’ll use this location to perform local testing, and the code we edit here we’ll later deploy to Google App Engine. To do this, we need to tell the Google App Engine Launcher where to find our files.
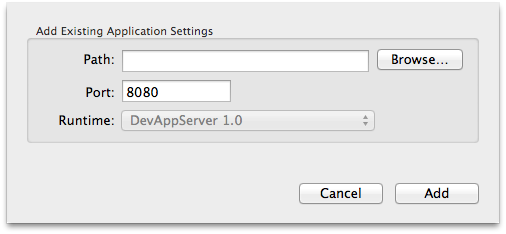
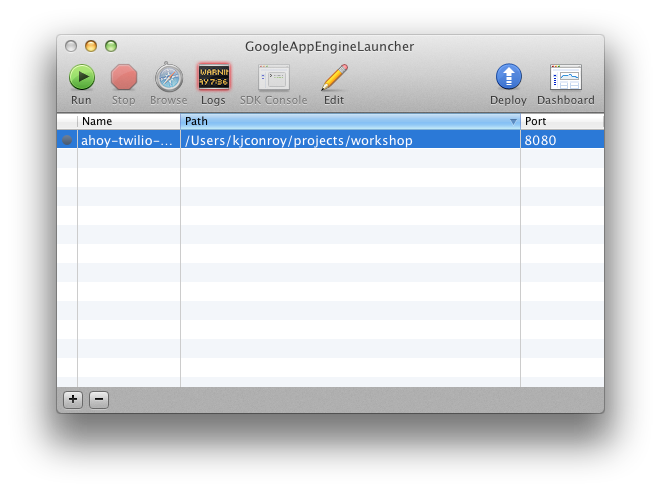
Open the Google App Engine Launcher, and from the file menu select “Add Existing Application…”. In the next dialog, click the “Browse” button and locate the workshop folder.
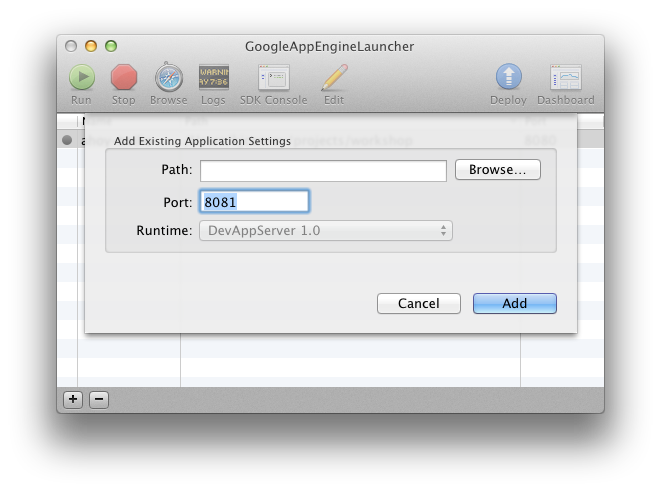
Click “Add” to finish setting up the application.
Run the Web Application
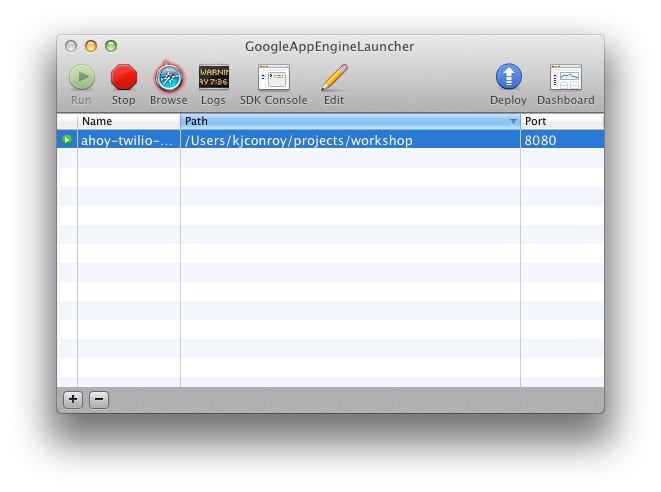
To run your application, select your application from the list and click the “Run” button. Your app is now running and ready to use.
To use your application, click the “Browse” button. Your app will launch in a browser window.
Your browser will open with the text “Hello World!” on your screen. Let’s take a moment and look at the URL that is loaded in your browser.
The URL says http://localhost:8080/. localhost is a special URL that tells the browser to make a request to your local computer instead of out to the internet. The :8080 portion tells the browser to make the request to port 8080. This URL is not visible and accessible from the internet and, in general, is only visible to you.
Note
While localhost URLs will always address a user’s local computer, its not entirely private. The application will also respond to your computer’s IP address, so when developing applications be aware of your surroundings and of who else can possibly run your application on the network that you are connected to.
In your text editor, let’s open up the file main.py at the root level of the workshop directory. Change the word "World" on line 6 to your name and save the file. Return to the web browser and refresh the window to see your change.
Great! We’ve successfully run and modified a small Python application running on your computer.
Debugging your Application
Quite often while developing applications, you will encounter errors in your code. The Google App Engine Launcher helps you deal with these errors by exposing helpful log information when running the local development environment.
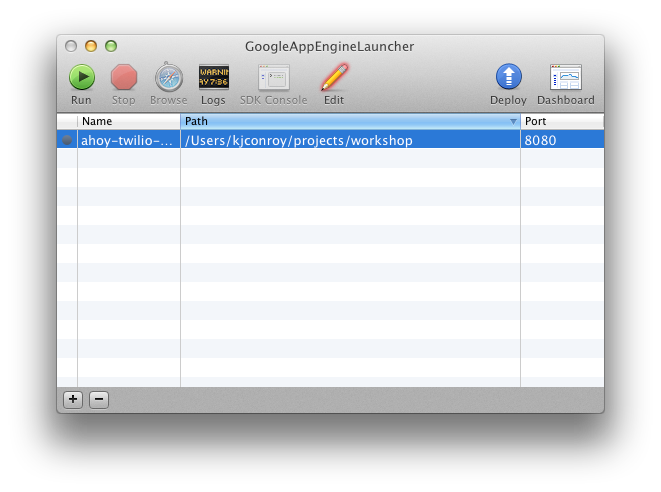
Open the Google App Engine Launcher. Select your application from the list and click the “Logs” button. This will launch a console that outputs activity from your local development environment.
Your application’s access and error logging information will show up in this window as you access your application.
Deploy your Application
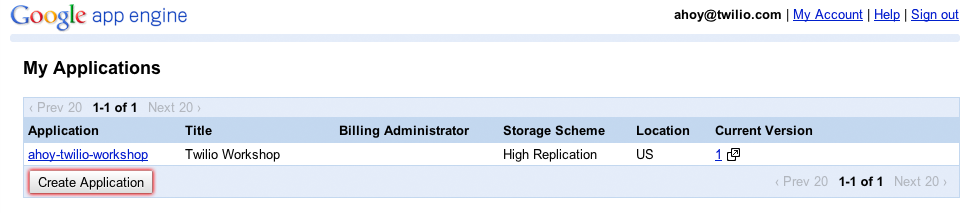
It’s now time to share your application with the world. To deploy your application on App Engine, we’ll need to create an application via your App Engine dashboard (which requires a Google account).
Open the App Engine dashboard in a new tab and click “Create Application”.
You’ll need to pick a name and title for your application. Names in Google App Engine need to be lowercase and unique so I’d suggest a workshop specific name like {lastname}-twilio-workshop.
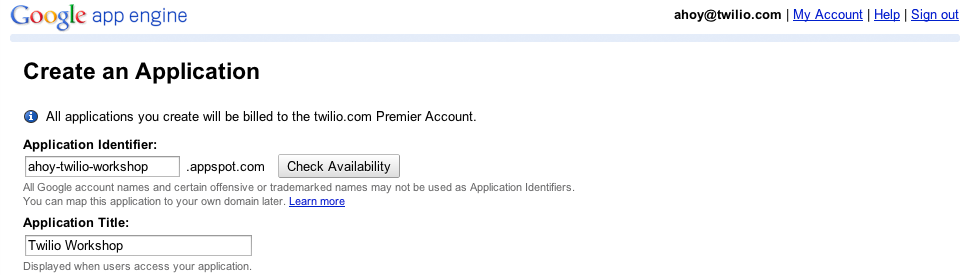
Accept the terms and conditions and click “Create Application”
You’ll need to update your local configuration with your new application name. Open the Google App Engine Launcher and highlight your application. Click the “Edit” button.
There are a few configuration directives in this file but at this time we only need to be concerned with the Application Name. Replace the ahoy-twilio-workshop portion of application: ahoy-twilio-workshop with the application name you registered and save the file.
application: ahoy-twilio-workshop
version: 1
runtime: python27
api_version: 1
threadsafe: true

handlers:
- url: /.*
  script: main.app

- url: /favicon\.ico
  static_files: favicon.ico
  upload: favicon.ico
Open the Google App Engine Launcher, highlight your application if it is not already highlighted, and then click the “Deploy” button. The Launcher app will upload your code and deploy it. Your application t is now publicly accessible through the internet.

You’ll be asked to sign in with your Google account.
Note
If you use 2-Step Verification, you’ll need to create an application-specific password to authorize your account. You generate these on the Authorizing applications & sites page.
The Launcher app will also output progress information in to the Log:
*** Running appcfg.py with the following flags:
    --no_cookies --email=user@email.com --passin update
04:42 PM Host: appengine.google.com
04:42 PM Application: my-application-name; version: 1
04:42 PM Starting update of app: my-application-name, version: 1
04:42 PM Getting current resource limits.
04:42 PM Scanning files on local disk.
04:42 PM Cloning 68 application files.
04:42 PM Uploading 4 files and blobs.
04:42 PM Uploaded 4 files and blobs
04:42 PM Compilation starting.
04:42 PM Compilation completed.
04:42 PM Starting deployment.
04:42 PM Checking if deployment succeeded.
04:42 PM Deployment successful.
04:42 PM Checking if updated app version is serving.
04:42 PM Completed update of app: my-application-name, version: 1
Password for user@email.com: If deploy fails you might need to 'rollback' manually.
The "Make Symlinks..." menu option can help with command-line work.
*** appcfg.py has finished with exit code 0 ***
Once you see *** appcfg.py has finished with exit code 0 ***. your application is live and ready to view. Open a browser window and go to http://{your-application-name}.appspot.com to view your application in action.

Table Of Contents
Related Topics
- Documentation overview
- Previous: Workshop Agenda
- Next: Hello World